Professional Self Tape Set Up for Actors
Self-tapes are fast becoming the film and television industry’s main audition currency. A lot of actors are putting down anywhere between 2 and 15 self-tapes every week. So it makes sense that you should invest in a great set-up at home, to achieve really slick and professional self-tapes and really give yourself the BEST chance at booking a job. It doesn’t matter if you’re the best actor in the world, if your self-tape set up is amateur and distracts from your work – you won’t book the gig. It’s as simple as that.
Please note that StageMilk is not endorsed by any of these companies. We do use combinations of this equipment for our own videos and self-tapes but are in no way financially supported by any of these companies. We have also paid for all of our equipment in full and received no subsidy to put these products in this list. We just like them.
So here’s how to achieve a really professional looking self-tape set up in your own home. For this article, we’ll be working with US dollars, but all these products are available internationally. If a professional set up is a tad out of your budget, check out our $250 self tape set up article.
I like to think of a self-tape set up in 5 parts.
Part 1: Camera
Part 2: Tripod
Part 3: Audio
Part 4: Lights
Part 5: Backdrop
Part 1: Camera
Let’s begin with Part 1, Camera. You’ve got a few options here, and I always recommend doing plenty of research before you go spending over hundreds of dollars on a camera. A camera is a solid investment, so you want to make sure you’re getting something that you will make good use of, and will last you a long time. You might want to invest in a camera that looks super slick for self-tapes, but also could be something you make a short film with, in which case spending over $1000 would be totally worth it. But if it’s just for self-tapes, a good smartphone will do just fine, or a camera under $1000.
Let’s go through the main specs you should aim for when buying a camera:
- Must record at 1080p or more. (this is referring to the resolution of the video)
- Must have an audio input jack (for your Microphone, which we’ll talk about in Part 2)
- Preferably small and lightweight – just for ease of use.
- Preferable if it uses a simple SD card to record on to – some cameras need SSD’s, or micro-sd’s which will mean you need to grab an adapter to put into your computer etc.
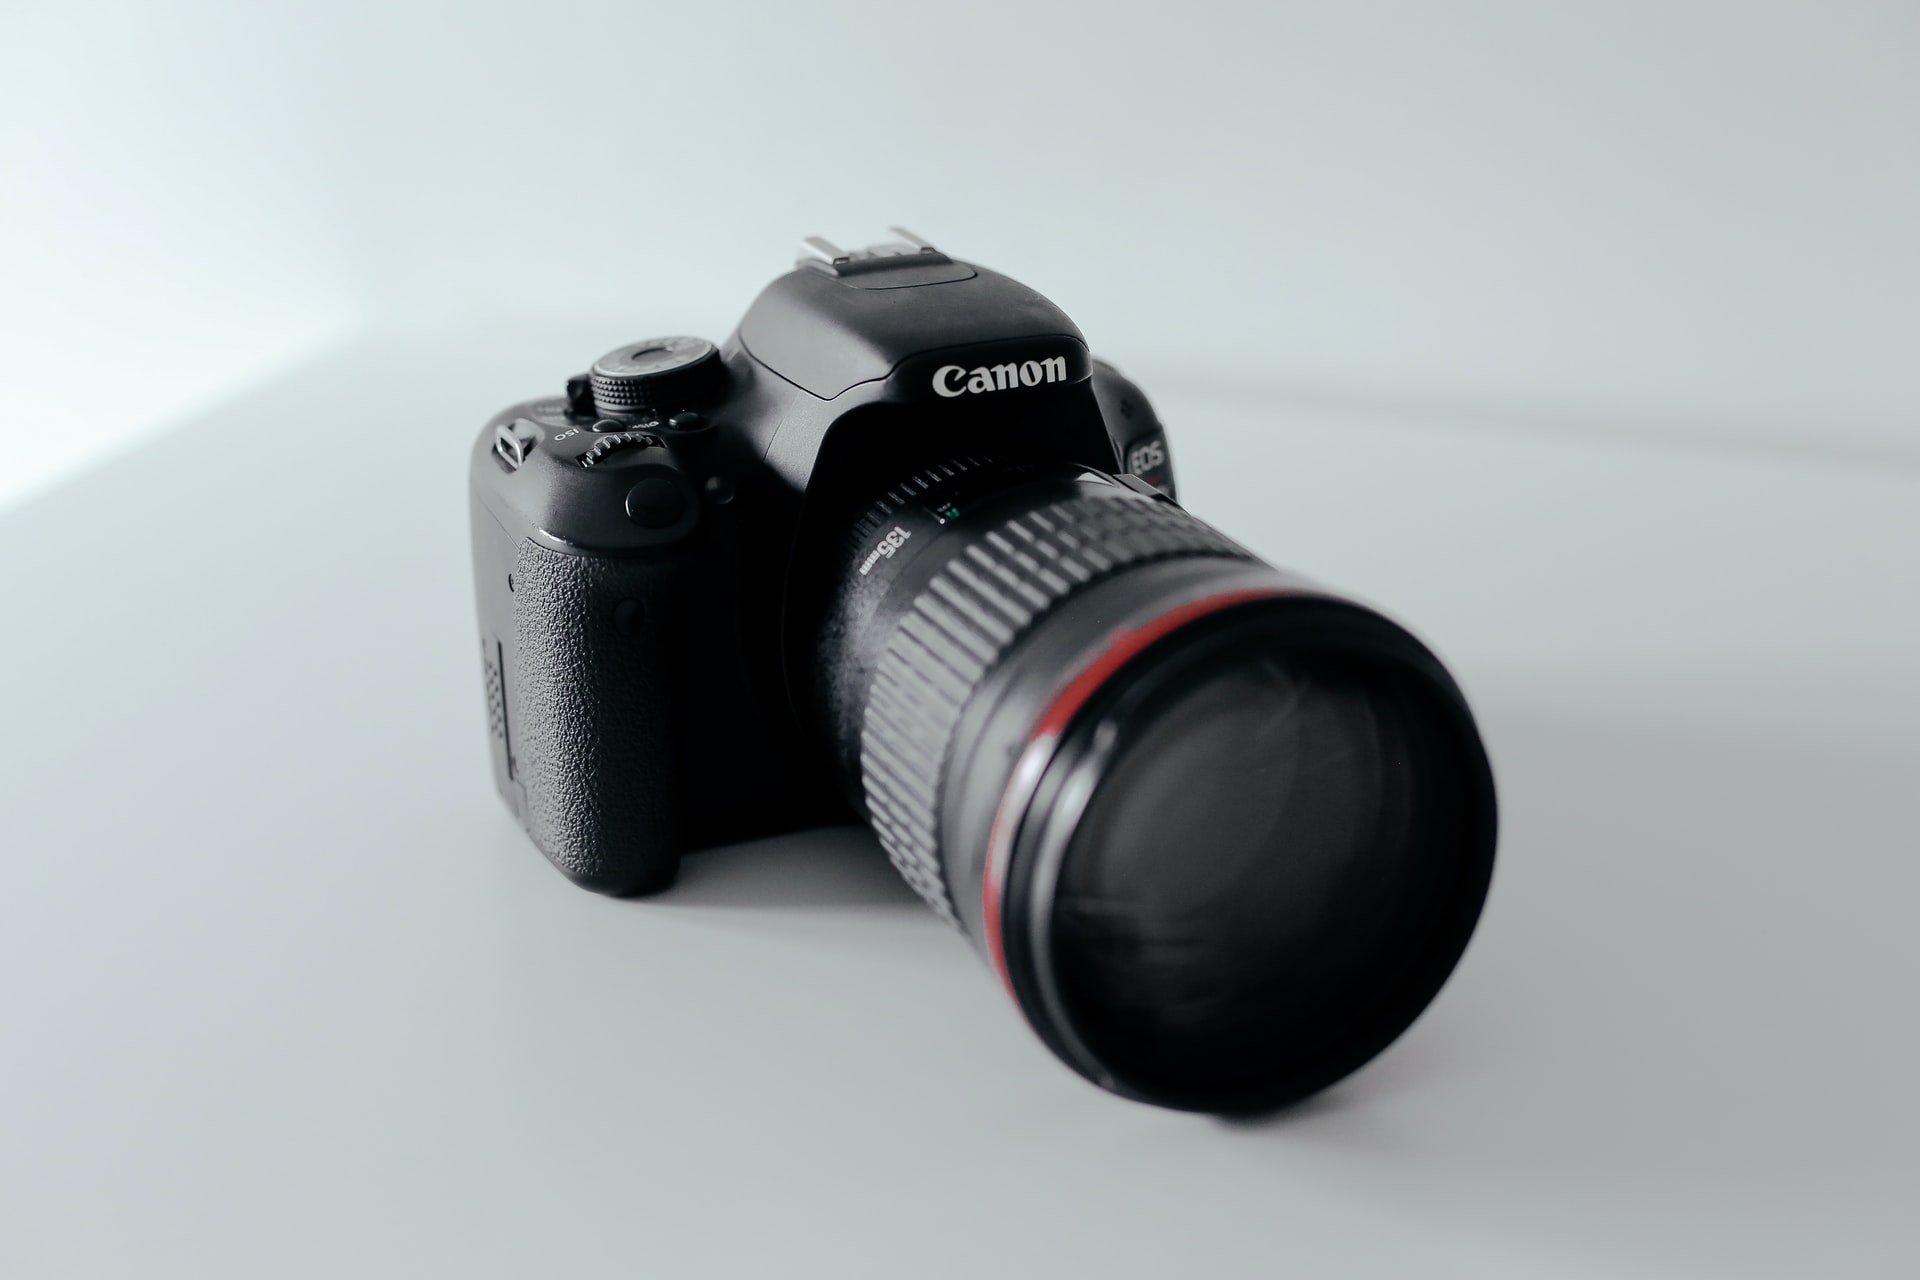
- Be either a DSLR, or a Mirrorless Camera: Mirrorless cameras have the advantage of usually being lighter, more compact, faster and better for video; but that comes at the cost of access to fewer lenses and accessories. DSLRs have the advantage in lens selection and an optical viewfinder that works better in low light, but they are more complex and bulkier. DSLR’s are more often used for photography, and Mirrorless cameras for video (but they can also be used for photography). When we’re shooting self-tapes we use a Canon DSLR – as the file sizes are smaller and easier to work with, and we prefer the natural colour profile. However when we’re shooting our YouTube content, we use a Panasonic GH5 – which is more expensive, and can shoot higher resolution and at a higher bit-rate.
Let’s get into some recommendations. We’ll start with the most expensive of the bunch:
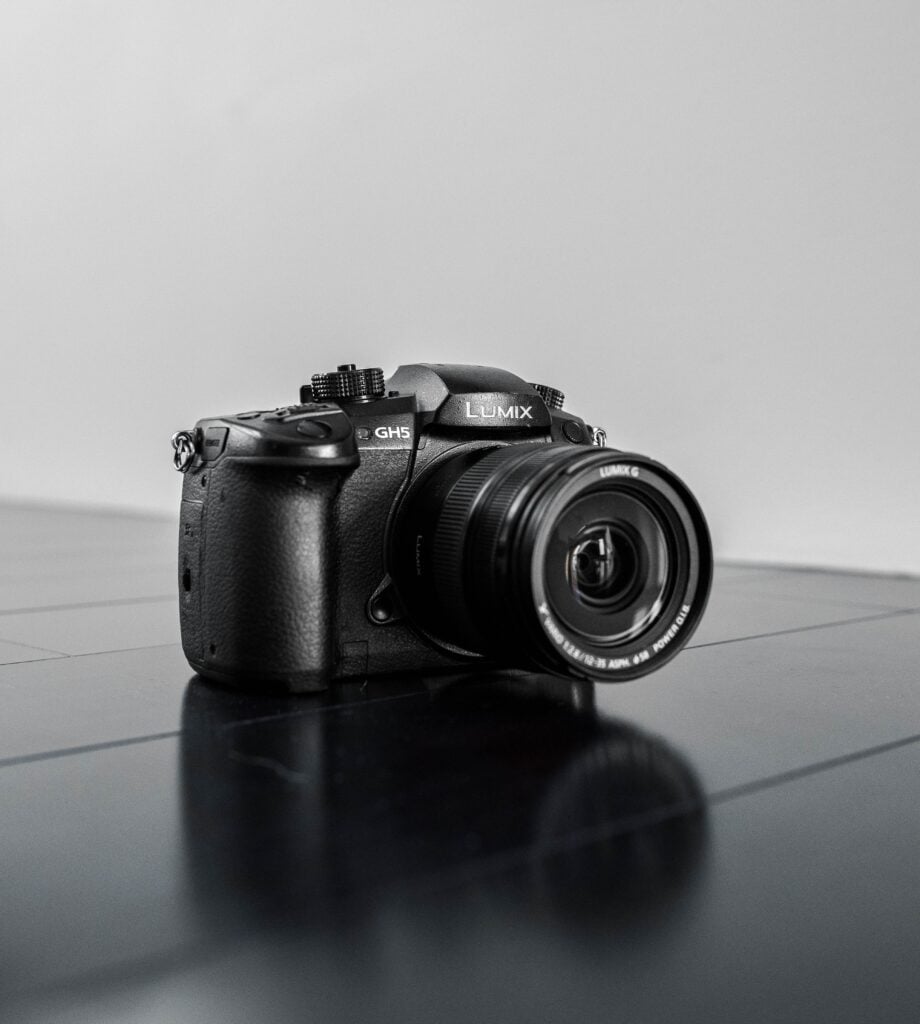
Panasonic GH5
Price: around $1300 (body only)
- Great for short films, docos and even low budget feature films as it shoots 4K footage
- Compact and lightweight
- Lots of capabilities in terms of filmmaking
- However the GH5 does produce highly compressed files, which are harder to edit, depending on your computer and software.
- Panasonic lenses will cost you anywhere from $200 – $1000 – depending on the quality. A Lumix G Vario 14-42mm f/3.5-5.6 will do you just fine for self-tapes, which comes in at $250 USD.
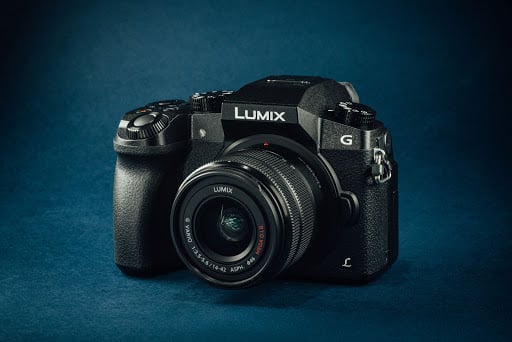
Panasonic Lumix G7
Price: around $650 (kit lens included)
- This is one of Panasonic’s predecessors to the GH5, so it’s also a great little camera, at a better price point.
- You can definitely shoot self-tapes on this camera, and maybe even still some low budget short films etc.
- Again, additional lenses will cost you anywhere from $200 – $1000.
Canon 80D
Price: around $750 (body only)
This is a DSLR by Canon – but the 80D is maximised for video usage.
- It has a flip out view screen – which is very handy
- It only shoots 1080p – not 4K like the previous Panasonic’s. This means you probably wouldn’t be making short films with this camera.
- You could however, definitely use this camera for photography.
- Lenses will cost you anywhere from $200 – $1000 (you can stick with Canon lenses, or shop around for more affordable lenses which also fit the EF-S mount e.g. Sigma)
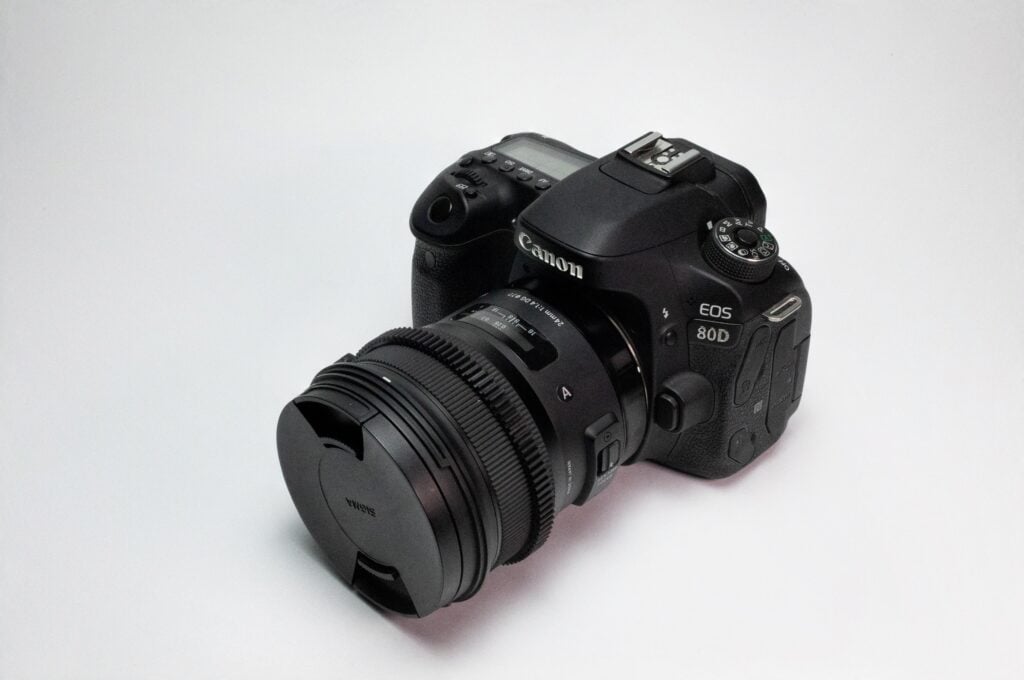
*** We recommend the Canon EF-S 18-55mm f/3.5-5.6 which will set you back around $200-250.
Canon 3000D/Rebel T6
Price: around $350 (with 18-55mm Kit Lens)
- Designed for first-time DSLR owners on a budget, this camera is a great bargain
- It also offers Full HD 1080p Video Recording, so you can use this camera for self-tapes, and also some hobby photography!
- This is a great deal – this camera and lens duo will get you some great self-tapes at a really affordable price point.
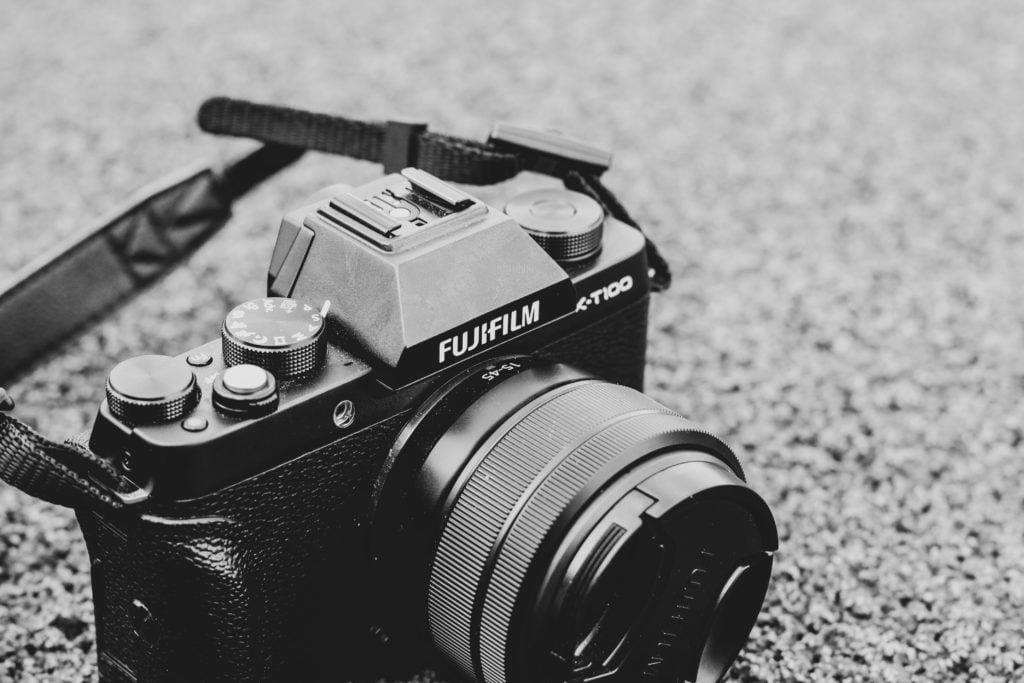
FUJIFILM X-T100 Mirrorless Digital Camera with 15-45mm Lens
Price: around $450
- It records 4K and 1080p – great for self tapes, and also short films if you pick up a nicer lens to go with it.
Most of the time you’ll be able to buy any of these camera bodies, and a lens in a package deal. The lens will often be a “kit lens” – which means it is a relatively affordable zoom lens, something like 12-40mm, or 18-55mm, or 18-135mm. Zoom lenses are very handy for self-tapes, as it makes your set up more adaptable – ie. you can have the camera far away and zoomed in, or up nice and close and zoomed out – which suits small rooms, or large rooms and anything in between.

Part 2: Tripod
As long as it has 3 legs, is taller than you, and can fit whatever camera or phone you’re using, any tripod will do. However I wouldn’t recommend spending less than $50 on a tripod – you can find some super cheap tripods out there, but it might only work for 6 months, and then fall apart. It needs to be taller than you, when fully extended, so that when you’re shooting self-tapes you have enough height to shoot standing up. You don’t want to have the camera lower down, and have to point it upwards – that’s going to be unflattering and distracting to watch. You also want your tripod to have some flexibility – the more money you spend, the better quality parts, such as a nice Fluid Video Head, which will make for very smooth pans and tilts.
Let’s jump into some recommendations:
The Manfrotto 290 Xtra Aluminium Tripod with 128RC Micro Fluid Video Head
Price: which will cost you around $180
Manfrotto are a great, reliable brand – literally any of their tripods we can recommend, so have a shop around, find one that suits you and your price range.
Slik SPRINT VIDEO Travel Tripod with Fluid-Effect 2-Way Panhead
Price: will set you back around $90
Slik is a more affordable manufacturer of tripods, their products are reliable and they have a large range – so again, do some research, and find which product suits your budget and requirements.
Part 3: Audio
Let’s move on to Audio Equipment. Have you ever filmed a self-tape in an apartment, next to a busy road, with an iPhone? You’ve probably noticed – it doesn’t sound great. We highly recommend picking up some audio gear to enhance the production quality of your self-tapes. You’ll notice a huge difference, and it will also work in your favour. Just like having a great quality camera is going to make you look good, great quality audio is going to make sound good too.
You’ve got 2 main options here. You can either pick up a Lavalier Mic, or a Directional Shotgun Mic. A lavalier is a small portable mic, which you can clip onto your shirt, or hide underneath your clothing. A directional shotgun mic will sit either on top of your camera, or on a stand nearby.
RODE VideoMic PRO Directional On Camera Microphone
Price: $230
This little microphone runs off batteries, and sits right on top of your camera set up via a “hot shoe” mount. All the cameras we mentioned above have hot shoe mounts on them and a microphone jack. This means your audio is going to record into the camera, and match up with your video footage. So you don’t have to go and sync it up later.
Another option is to grab a microphone that can be mounted on a seperate stand, much closer to you (but not in frame) to get even better audio (like this kit). You’ll then just need an extra long cord to connect it to your camera. If you’ve got the budget, I definitely recommend this option – the closer the mic is to your mouth, the better quality audio!
Sennheiser AVX Lavalier
Price: $700
We use this mic for our YouTube content – it’s fantastic! However this is a little overkill for self-tapes. If you’re looking to invest in a great lavalier microphone for short films, docos and other filmmaking needs, Sennheiser make great mics. But for simple self-tape purposes, something like the:
RODE SmartLav+
Price: $70
This microphone records into your camera, or a smart phone. We recommend using a smartphone however, otherwise you’ll be restricted movement wise with a long cord connecting your mic, to the camera. You will have to hide this microphone on your person, by using some sports tape and sticking it to your chest, just below your neckline. You’ll then connect the audio jack into your smartphone. This mic requires an app – RODE have a free version, and a paid version (which is only $10 or so) – it’s called RODE Rec LE. As we’re writing this however, the app has been removed from the App store whilst it’s undergoing some updates, it should be back shortly! In the meantime, we’re using the RODE Reporter app instead.
The audio you’ll grab some this mic is GREAT quality, and will do you wonders. It sounds great, and means your voice becomes front and centre – as the microphone is so close to your mouth. It does mean however that you’ll need to sync this audio up with the footage on your camera later on when you edit. So it does slow down your workflow slightly. Consider adding the RODE invisiLav to prevent any scratchy shirt noise. If you really want to get high tech, the new RODE Wireless GO presents a wireless studio quality lav mic system to sync straight into your camera!
Part 4: Lights
There are infinite options when it comes to lights for self-tapes, and it all depends on your budget and what kind of studio or room you’re working in. Whilst it may be tempting to use a big window or natural light as your main source of light, I’d encourage you to invest in some LED lights instead. The problem with using a window means you can only self-tape during the day, and you don’t want to be restricted by daylight hours. You should also always turn off the ceiling lights – they’re often either a fluorescent white, which is unflattering, or a warm yellow tungsten colour – which often won’t match the LED lights you’re about to order.
Let’s say you’re keen to invest in some quality lights that you might want to use for short films and perhaps photography, as well as your self-tapes. In that case we recommend:
APUTURE AMARAN HR672 LED Video light
Price: these will set you back around $400 each.
You can buy these with colour temperature adjustment capabilities, and we highly recommend doing that. They also come with little remotes, which you can sync up and use to adjust the brightness, turn on and off etc. You can buy these in a 2x or 3x light kit from Amazon or B&H for around $1200 including stands. We love these lights because they’re lightweight, easy to store, you can adjust brightness as well as colour temperature and they’re affordable. They don’t however come with softboxes – which you might want to invest in to give yourself a more cinematic, softer and more diffused light source. These soft-boxes can set you back around $50 each. Aputure are a reliable brand which manufacture some awesome portable LED light options – check out their full range, you might find another product better suited to your needs and budget.
If this is out of your budget, you can look at a cheaper softbox kit, which is also dimmable, and temperature adjustable.
Price: Three of these will cost you around $200 or less (they often come in kits of 2x or 3x with stands)
Again – having these adjustment capabilities will add an extra few dollars to your purchase, but they’ll make your life much, much easier – especially if you’re not a pro filmmaker and don’t have all the tricks up your sleeve to manipulate your lighting set up.
There are many cheaper variations of these soft-box lighting kits, we recommend you do your research, watch some YouTube reviews and make sure you’re getting good value for money.
Things to note when you’re purchasing:
- Colour temperature: you can buy lights that have globes set at a specific temperature – e.g. 3200K, or 5600K, which is warmer, and cooler respectively. 5600K is the same colour as daylight – it is cooler in tone, and bluer in colour. 3200K is more like a warm bedside table lamp, it is warm and yellow in colour. You could use either of these, as long as all 3x of your lights are the same temperature. Or, you could save yourself the hassle and buy lights that are colour temperature adjustable, or bi-colour. Which means you can pick and choose which colour light best suits your skin, your backdrop and your set up.
- Stands: if you’re buying a kit of 2 or 3, your lights will come with stands. If not, you’ll need to order them separately. Make sure that the screw at the top of the stand, will match the screw at the bottom of your light. Again, do a little bit of research here. Stands will cost you anywhere from $20 each, to $200 each – depending on the make and quality.
Quick tip: Make sure the colour temperature on your lights, matches the white balance in your camera. We often see self-tapes which have an odd colour quality to them – and this often means that their camera white balance is set to say, 3200K, whilst the lights they’re using are set to something different, say 5600K. Pick a temperature, and make sure that it all matches. Go into your camera’s white balance settings and match it with the colour temperature of your lights.
Part 5: Backdrop
Let’s move on to your backdrops, and you’ve got a few different options here.
- Paint a wall: this is nice and simple – if you own the house or studio you’re in, you can paint a wall! Grab a small tin of MATTE paint, and go to town on a wall in your self-tape room! This is permanent solution, and means you don’t need to do any ironing, setting up, or packing down. You can choose which colour you’d like, we recommend a nice deep blue, or a grey. White tends to wash people out, and so generally avoid using white.
- Pop Out Backdrop: If your self-tape set up is in your lounge room, or bedroom, and it needs to be mobile and able to be packed down after each self-tape session, then we recommend you get yourself a pop out muslin backdrop – make sure it’s of good quality, and not made of 100% synthetic material. If it’s synthetic, it will likely crease when you fold it away, and you can’t iron synthetic material, as it will melt. Also make sure it’s at least 2×3 metres. Any smaller, and you’ll struggle to film within it. We recommend either a Fovitec or a Neewer – Double sided Pop Out Muslin Backdrop which will cost you $55. They have a few different colour combos which you can choose from. To hang, you can either use hooks on the wall, or backdrop stands and clamps. The beauty of these is they fold away nice and small, don’t require any ironing if you get the right material, and you can even take them in your suitcase when travelling!
- Permanent Backdrop: Your other option is a more permanent backdrop set-up which includes either a paper roll, or some other fabric, a cross beam, and 2x stands. Again, make sure you aim for good quality paper, or material that isn’t synthetic, as you’ll need it to be crease free. If it is paper – you don’t need to iron it, if it gets too creased you can just cut off that section and roll out more from the roll. Paper rolls can cost anywhere between $60 and $250. Alternatively you can grab a fabric backdrop, or even use a bedsheet, which you can hang from your backdrop stands. Sheets will require ironing before use, or you can invest in a “wrinkle resistant” fabric.
- One final option is using a blind! I’ve seen some great backdrop set-ups using rollout blinds! You can head to your nearest hardware store, arts and crafts store, or homewares store, and pick up some household blinds. You can find these at a variety of price points, colours and lengths. The benefit of using a blind is it’s easy to roll up and down, you can mount it on the wall, or use a backdrop stand, and it never needs ironing!
What colour backdrop should I get?
We recommend bright blue, navy blue, grey or a deep green. Grey and blue works for pretty much ALL skin types, and it stands out. White on the other hand might makes people look a little pale and washed out, and it’s rather uninteresting.
Conclusion
So we’ve now covered all 5 elements which will make up your professional self-tape set-up. As always, do your own research before you start spending hundreds of dollars on equipment and make sure you’re getting the right products to suit your needs. If this is out of your budget range, you can check out our $250 self-tape set up for actor’s guide, or you could even use a combination of the two.
Leave a Reply