$250 Self-Tape Set Up for Actors
So you’re on a budget, and you’re putting down, say 1 or 2 self-tapes every couple months. It might not be the right time for you to invest thousands of dollars in a professional self-tape set up, but you still need something! So let’s look at how we can achieve a great self-tape set up for under $250.
*We’ll be working in US dollars here, but all these products are available internationally.
I like to think of a self-tape set up in 5 parts.
Part 1: Camera
Part 2: Tripod
Part 3: Audio
Part 4: Lights
Part 5: Backdrop
Part 1: Camera
Let’s begin with the Camera. Seeing as we’re on a budget – we’re not going to invest in a DSLR, or a Mirrorless camera. Instead, we’re going to use our smartphone. Smartphone’s these days have INCREDIBLE video capabilities and will do just fine for your self-tape set up.
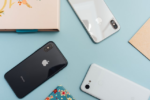
Particularly if you have a relatively new iPhone, Android, Pixel or equivalent you have some serious video capabilities right in the palm of your hand! So for now, no need to invest in a new camera.
Note: if you have anything older than an iPhone 6 you may have to look at an upgrade. But hey, you probably need an update anyway!
Part 2: Tripod
Next step, you’re going to need something to put your smartphone on to hold it steady. Occasionally I’ve been in a hotel room and had to use chairs, side tables, pillows and a toaster combined as a tripod!
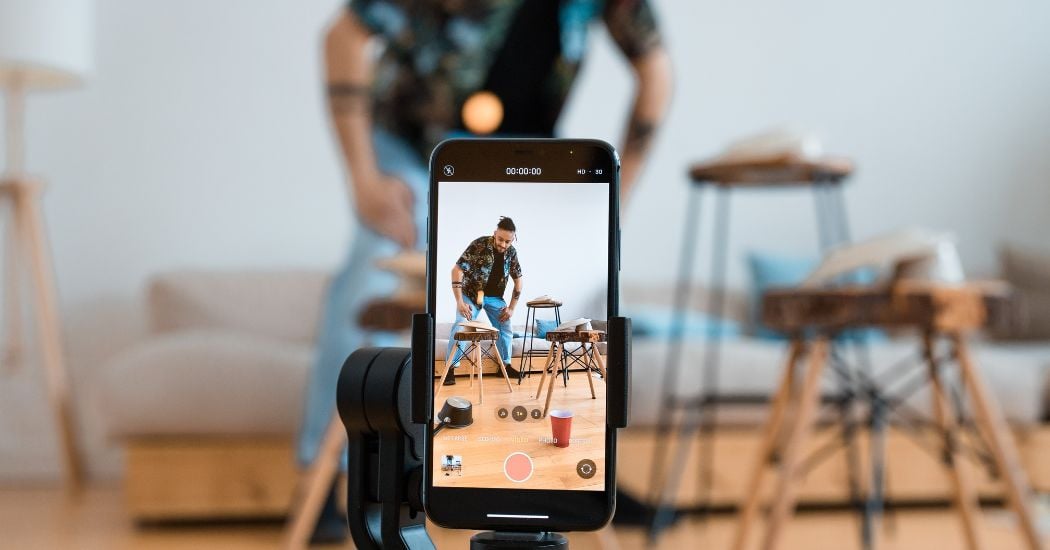
Instead of going to all that hassle, I recommend grabbing yourself a flexible smartphone tripod. The great thing about these is they’re small and light, which means you can put them literally ANYWHERE.
You can pick these up for $20 or less at a camera store, Kmart, Target, Officeworks, Big W or anywhere online. One solid one is the Joby Gorilla Pod (around $30-$40), but you should be able to get even cheaper.
Note: the one issue with these types of tripods is it’s hard to get the height you need without still having to build a makeshift stack of books, toasters and what not. You could look at picking up a cheap second hand tripod, or even grabbing a basic tripod online. You should be able to pick one up for under $50.
Part 3: Audio
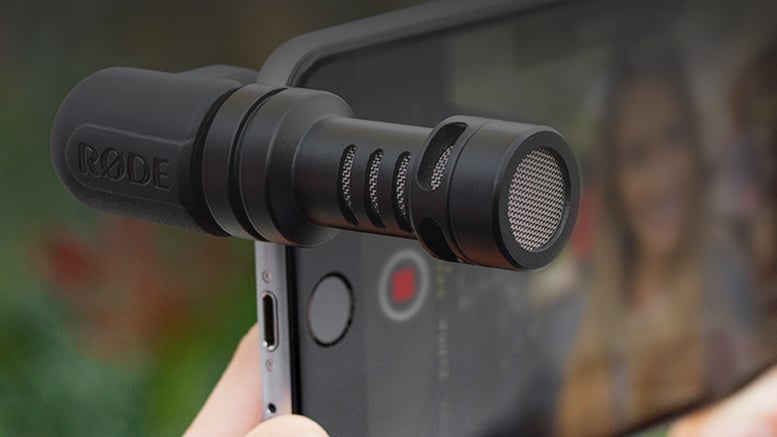
Having good audio is really important when it comes to self-tapes – we would never encourage you to ignore this step. Seeing as we’re working with a tight budget here, I recommend grabbing a Rode VideoMic Me Directional Mic which costs around $60, and plugs straight into your smartphone and sits on top. Make sure it’s pointing towards you, and not towards your reader.
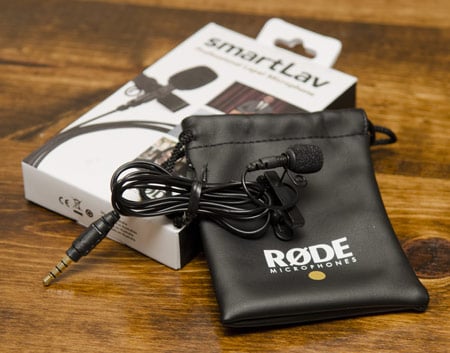
OR a Rode smartLav+ Lavalier Condenser Microphone which also costs around $80. For this one, you’ll want to stick the mic to your chest/neck and hide it under clothing. This means you’ll be connected by a cord to your camera phone. You could use 2 smartphones, have one to record video, and one to record audio – BUT that means you’ll need some editing software to sync both tracks later. To save that step, you could get an extra long cable, so you still have freedom to move around a bit whilst you’re connected to your camera.
Then all you need to do is download the RODE Rec LE app – there’s a free version, and a paid version, and that enables you to record sound directly into your smartphone. For both of these mics, we recommend setting them up, plugging them into your phone and playing around with settings and doing some tests. Do a mock self-tape, see what set-up works best for you before it comes time to actually shoot a self-test.
Note: improving audio is definitely a worthwhile investment, but if you just don’t have the budget make sure you are in a quiet space, and avoid big rooms with lots of reverb. You want to avoid road noise, planes and really anything that could be distracting.
Part 4: Lights
You’ll be able to find some average lights which will do the trick for under $100. Head to Amazon, and check out a couple different options. Something like this Continuous Lighting Kit – which includes 2x bulbs, 2x stands, 2x softboxes and a Carry Bag all for $90. This is a pretty great deal. You can shop around and find very similar products from different brands, with different bulbs, brightness, colour temperature and so on. Just be aware, spending $90 on lights is not going to give you super cinematic, slick looking self-tapes – but they will do the trick. I had a couple of these, and they worked just fine for me for a year or two, and then eventually I saved up and invested in more expensive, higher quality lights. So these are a great starting point for actors.
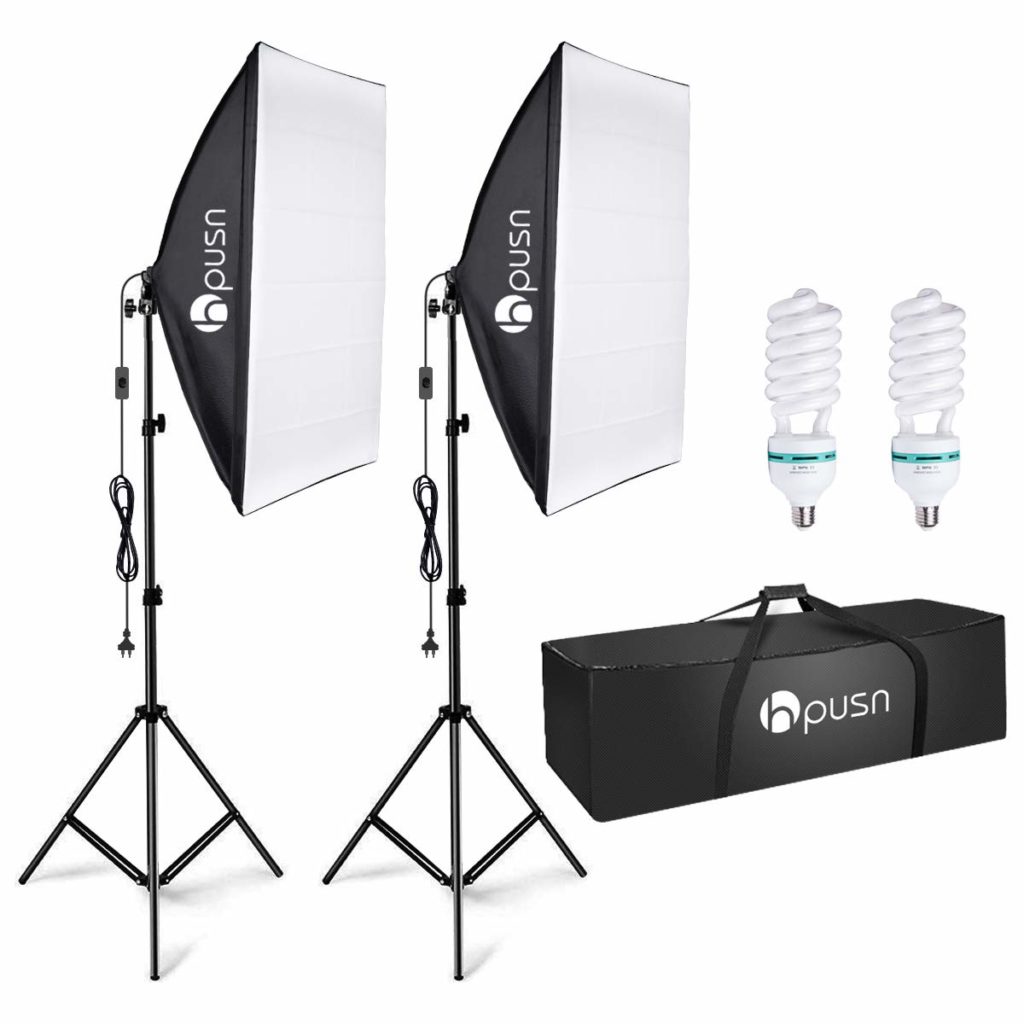
Again, once your lights arrive, set them up, and play around with different settings. Some lights come with dimmers, remote controls, and all kinds of extra bits and pieces, so depending on which product you go with, familiarise yourself with how it works and how to achieve the most flattering lighting set up.
Note: you don’t have to fork out heaps of money on lights. If you are using a decent camera or smartphone, as long as you can get some great natural light into your room, you may be able to get away without any lights at all.
Part 5: Backdrop
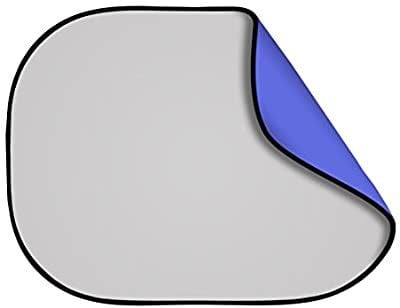
The cheapest and easiest backdrop option (other than an ironed bedsheet) is a Pop Out Muslin backdrop. We recommend the Fovitec – Double sided Pop Out Muslin Backdrop which will cost you $55-100 depending on where you are in the world. Another option is the Neewer backdrops. They have a few different colour combos which you can choose from. To hang, you can either use hooks on the wall, or backdrop stands and clamps. The beauty of these is they fold away nice and small, don’t require any ironing (if you get the right material), and you can even take them in your suitcase when travelling! If you want to go the sheet option instead, that’s fine – but bear in mind you’ll need to allow extra time for ironing, so there’s absolutely no crinkles, and finessing how you’re going to hang it, again – without crinkles!
Tip: ideally see if you can get a grey and blue double-sided pop out backdrop – that way you have 2x great colour options. They are rare, but the best option if you can track one down.
Conclusion
There you have it, that’s how you can get yourself a great little self-tape set up for under $250! If you’re on a budget, or don’t self-tape all that often, this is super affordable away to still achieve professional looking self-tapes in your own home.
Leave a Reply