How to Film a Self Test
What is a Self Test?
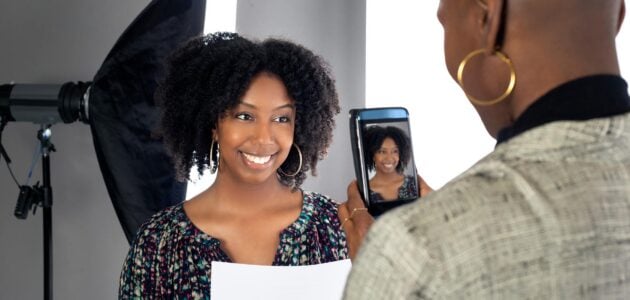
A self-test, or self-tape as it’s often called, is simply a filmed audition (a screen test), but instead of going into a casting director to audition you have to film the scene or monologue on your own. Most self-tests are usually filmed at home or at studios specifically designed to record self-tests for actors. Technology and self-tapes have really changed the way the industry functions. I know countless actors that have booked major TV, Film and Theatre gigs off the back of self-tapes, this includes tapes they’ve done in hotel rooms halfway across the world! Therefore, mastering the self-tape is very important for the modern actor.
This is our extensive guide on how to film a self-test, enjoy!
Updated February, 15th 2021
Why do people use self-tests?
Before we get into the nitty-gritty, let’s talk about why actors are required to self-tape in the first place.
Casting Directors are limited by time and money when it comes to how many people they can see for any given production. By getting actors to film their own self-tests at home and sending them in via the internet, they can see a greater number of people for a role. It also means casting directors can receive auditions from actors that may not have been their first preference to audition.
Self-tests are also useful when auditioning for roles in different states or countries. Many Australian and English actors frequently audition for American roles using self-tests, especially during pilot season.
What Equipment do you Need for a Self-Tape?
We have 3x different self-tape equipment buying guides which you can check out:
$250 Self-Tape Set-Up Guide
Self-tape equipment guide
Professional Self-Tape Set-Up Guide
But let’s take a look at a few of the essential elements you need to film your own self-tests at home, as well as some hints on how to make sure you are sending off great tests.
Camera
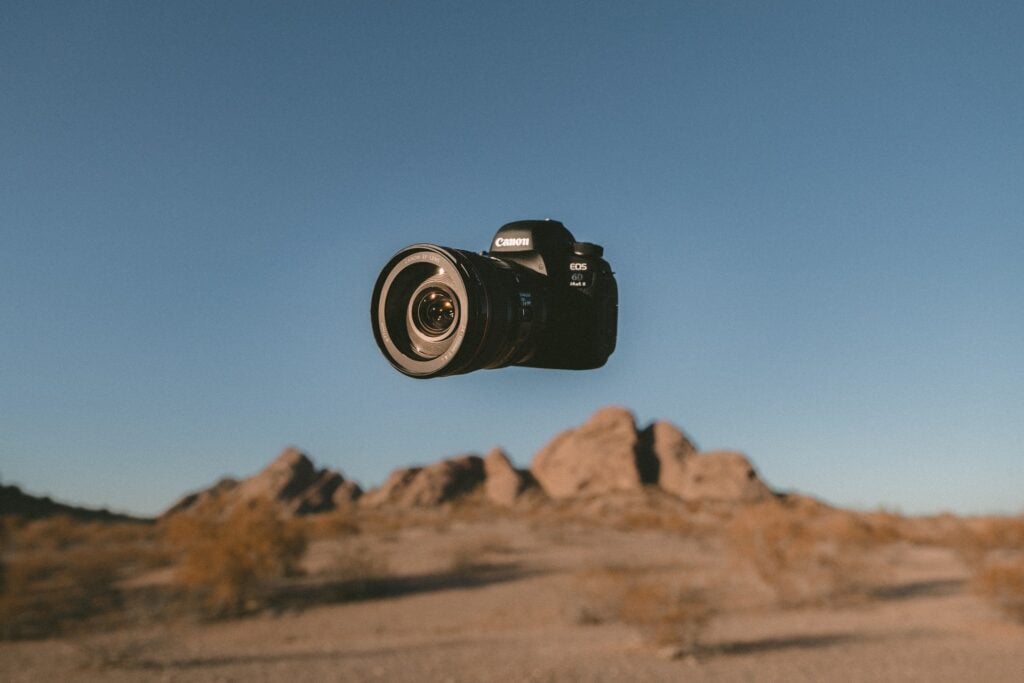
A camera is obviously essential. Don’t freak out if you don’t have a really expensive camera. I have done a lot of self-tests using my iPhone and iPad, and the quality is pretty good. I know many friends who have landed roles using these devices. Of course, if you have a good camera or some spare cash to buy a one, it is definitely a worthwhile investment. DSLR cameras like the Canon 80D are great, or if you have a little more to spend, you could look at GH4 or an A7s. Check out our guides above for more in-depth camera recommendations.
Check out: Best Cameras for Self Tapes

Background
Always make sure whatever background you use it is simple and non-distracting. Ideally a plain blue or grey background is great. If not, a plain white wall will do just fine – but often white can wash people out, whereas blue and grey is quite easy on the eye and flattering for most skin tones.
You can buy blue screens online, or a cheaper option is to hang a sheet on a wall – but make sure you iron the heck out of it, creases are ugly and distracting for Casting Directors!
What to Wear
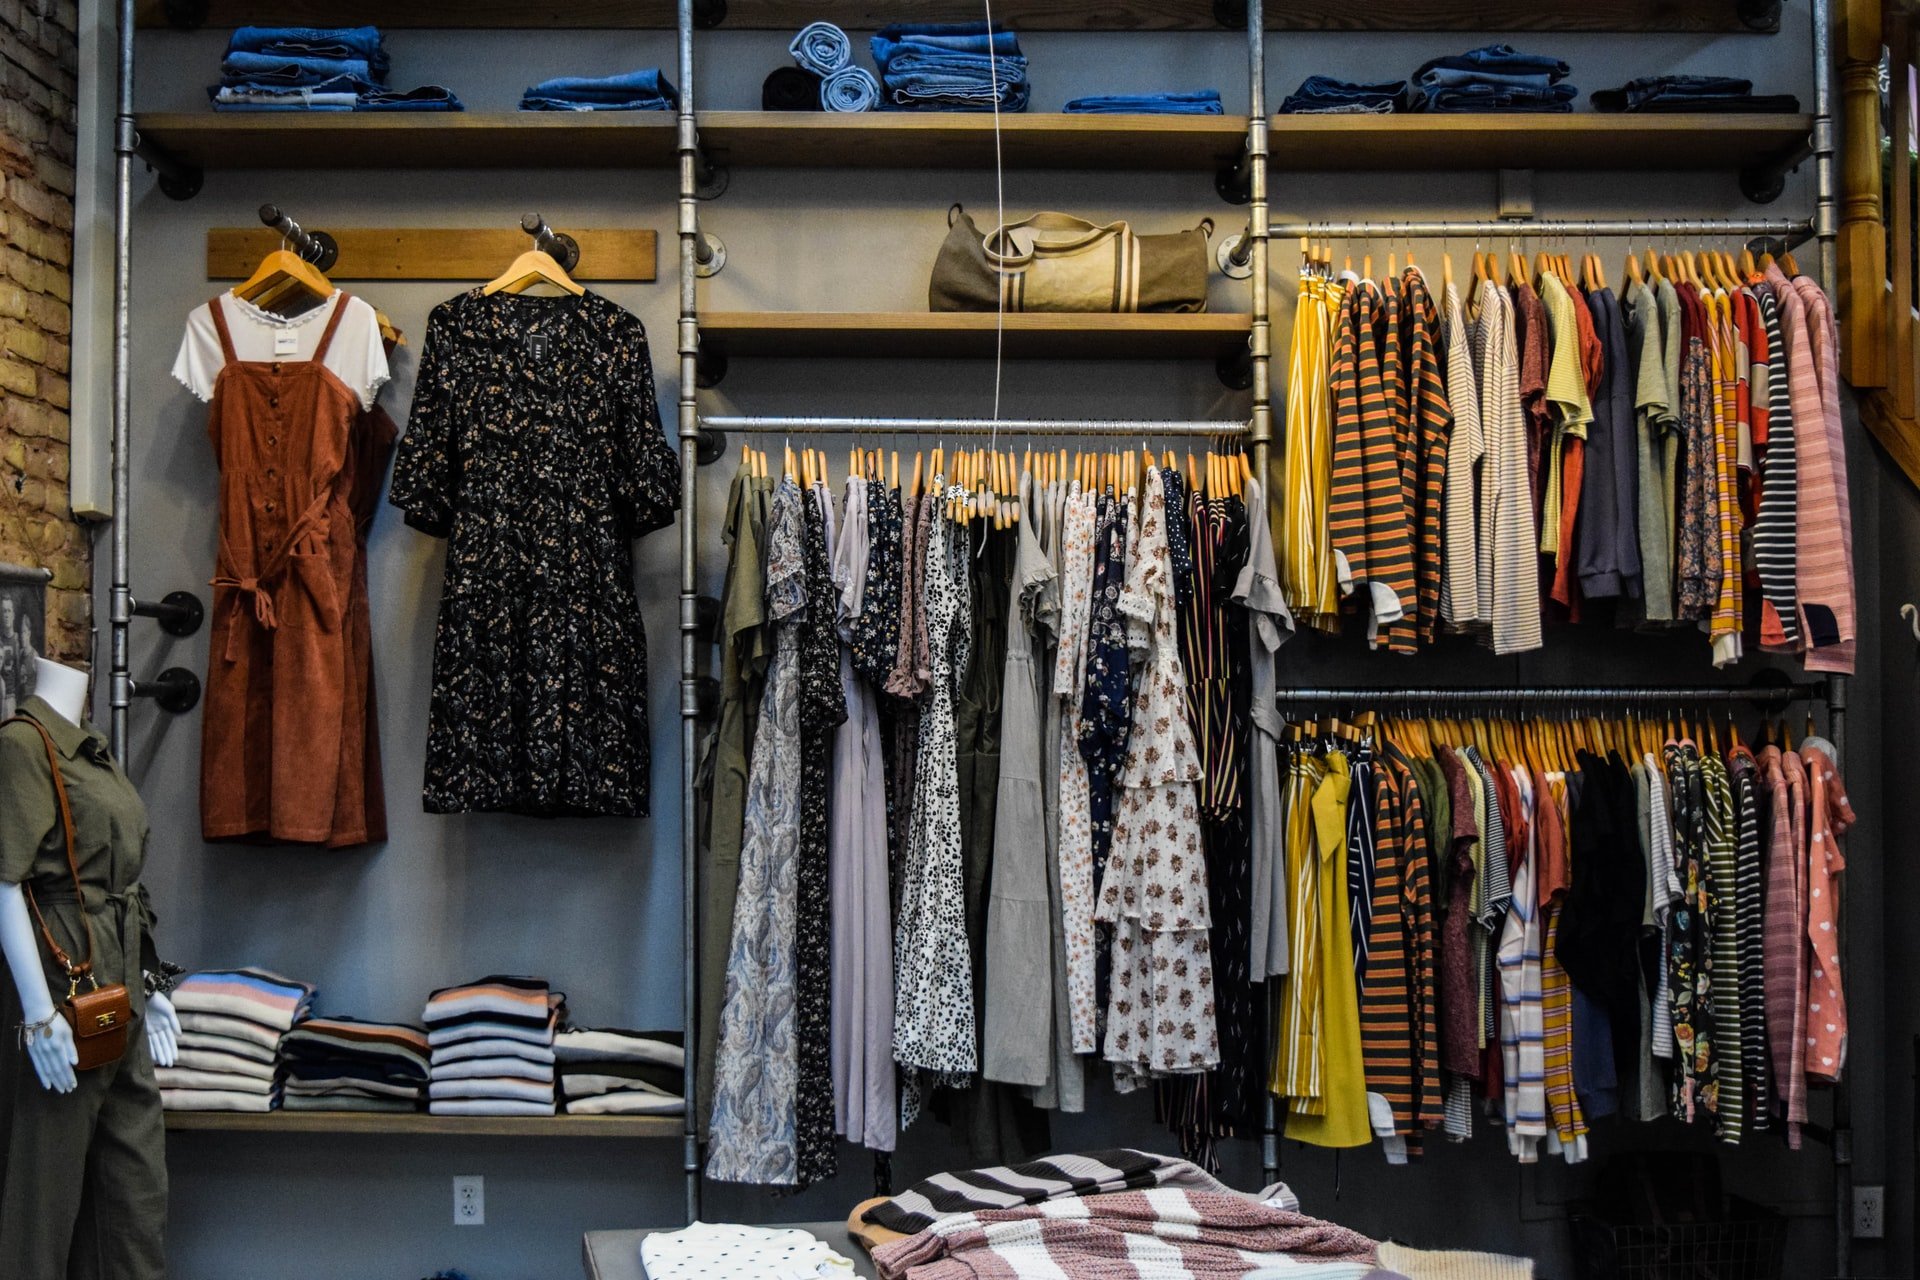
Make sure you aren’t wearing intensely patterned clothes, this can distort on camera and not to mention very distracting. Also, ensure that what you wear compliments your features! If you’re not sure, ask a friend to help you, or test a couple of things out on camera before you shoot.
But whatever you wear, make sure that it isn’t the same colour as your background!

It’s also a good idea to hint towards the character you are auditioning for. You don’t need to get fully dressed up in a costume, but making a suggestion is good. For example, if you are auditioning for a CEO of a big finance firm, wear a nice shirt and a suit jacket. Wearing a ripped t-shirt in this self-tape is going to be confusing for the casting directors, and make their job harder. They want to be able to easily imagine you filling that role and inhabiting the character.
Do I need a tripod?
I have balanced my iPhone on chairs, books and built many elaborate tripods out of the furniture in my living room, and you can get away with it, BUT it’s a time-consuming process. And considering tripods are only $30, you may as well just invest in one.
It doesn’t need to be anything special just make sure it’s tall enough – ideally, the tripod should expand to the same height, or higher, than yourself. You can find tripods to fit a DSLR or smartphones – so buy whatever will fit your camera on.
Do I need a reader?
Yes, you do need a reader. I have a friend who records the other character’s lines and plays it back on her iPad, and that really works for her. However, I recommend always having a reader, and it’s preferable if they are an actor. Though it’s only you being filmed, acting is reacting and working with a good actor will really help your audition.
Read More: How to Deal with a Bad Reader

How many takes should I do?
The advantage of a self-test is you have the freedom to take your time. You can do as many takes as you like, a luxury rarely afforded to you in a casting room.
That being said, I recommend doing 2-4 takes of each scene. If you do more than four it means you are going to spend a lot of time watching takes and nitpicking. You can easily become over-critical when looking at your own work so it’s good to limit the number of takes you film. It is sometimes a good idea to film a few takes, watch them back and see what’s working, and then film a few more of that scene implementing the necessary changes.
I’d favour spending more time rehearsing and preparing, with fewer takes filming. As opposed to very little preparation, and heaps of takes. Give yourself a limit, and you’ll be surprised how good you can be and sticking to your guns and delivering your best work when you need to.
Eye Lines (where to look)
The big no-no in a self-test is looking down the barrel (looking into the camera lens). Unless of course, it is specified that you do so. Sometimes monologues or songs may be down the barrel, but in normal audition scenes never look into the camera.
Get your readers to sit or stand as close to the camera as possible. If you are referencing other things in the scene, make sure you plot exactly where these things exist in the world of the scene. You can use pieces of tape on the walls, or just visual use different points in the space as your guide. In general, aim to keep your eyeline close to the camera at all times and avoid looking down a lot.
Editing and Editing Software?
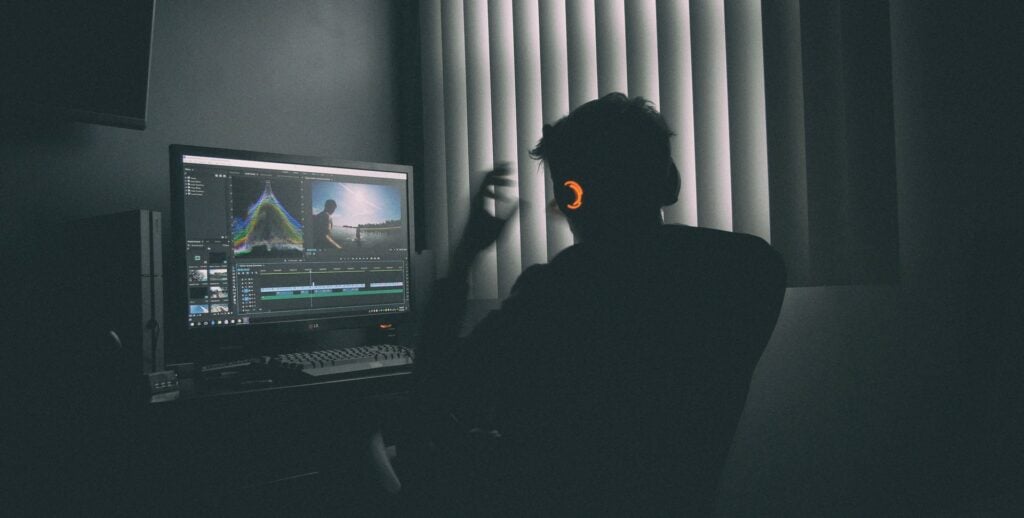
Self-tests are relatively easy to edit. You typically just need to cut off the start and end of each scene, add a slate (a blank slide that says your name, agent, and the role you are auditioning for), and a few fades up and down. This can easily be done in iMovie, which comes with every Mac, or video editor which comes on most PC computers. If you want something more extensive Premiere Pro is great or else Final Cut Pro is very good. But if it’s just for self-tests your basic movie editing program is more than enough. One final suggestion is Davinci Resolve, which offers a basic version for free.
How do I edit my self-test?
- Choose your best takes.
- Drag them into your video editing program.
- Add a slate (a blank slide with your name, agent, role and production) or
Add an introduction and full body shot (film an up and down shot of you standing). In this introduction include your name, agent, role and production, and height. - Add a fade up into to the first scene, as well as in-between all scenes and then at the end add a fade to black.
- Render the video to the specs your agent or casting director asked for. See below.
How big a file should you send?
Always check with your agent or casting agent as this can vary a lot depending on the length of the scene. We render ours between 100MB – 200MB. Some places request under 80mb. On all movie programs, you should be able to render the file off at different sizes. If you’re sending a huge file which is 500MB – Casting might not even bother to download it as it will take hours. So please make sure you check your file size!
How to send a self-test?
You’ve got a few options here, but read the brief first – as often Casting will mention how they’d like you to send your tapes.
- Dropbox
- Google Drive
- Vimeo
- WeTransfer
I recommend WeTransfer or Vimeo – Vimeo can be a great way to share a private link which casting don’t have to download if they don’t want to, they can simply watch it straight away. Just make double sure it is set to private, and that you send the correct link and password to casting. Often, if it’s too difficult or the password is wrong, they won’t bother following up with you. So, don’t be silly – triple check everything and test your links before you send.
WeTransfer is a simple file transfer service, it’s quick and easy to use, and you don’t have to have an account in order to send under 2GB of files (which is MORE than enough for sending self-tests).
Conclusion
Getting a self-test is a great opportunity to do an audition on your terms. You get to do as many takes as you like without the pressure of nerves or trying to impress anyone. Try to get all the elements that are unrelated to your acting sorted well in advance: what you’re wearing, the picture quality, sound quality and so on, so that you can focus on your acting and give yourself the best shot at doing a great audition. If you want some more tips on how to get your audition scene up to scratch take a look at our how to prepare for an audition page or our more comprehensive acting guide.
VIDEO GUIDE [HOW TO FILM A SELF TAPE AUDITION]
Have you recorded a self-test recently? Let us know your tips below!
Want to practice your self-tape technique? Join our online scene club, StageMilk Drama Club, and improve your auditioning and self-tape skills every month!


Leave a Reply